Exhaust System Fabrication
Hints & Tips that will save you time & hassle
Where To Start ??
The main factors to consider when fabricating an exhaust system are:
1. Good ground clearance
2. Well mounted & supported (down-pipe bracing)
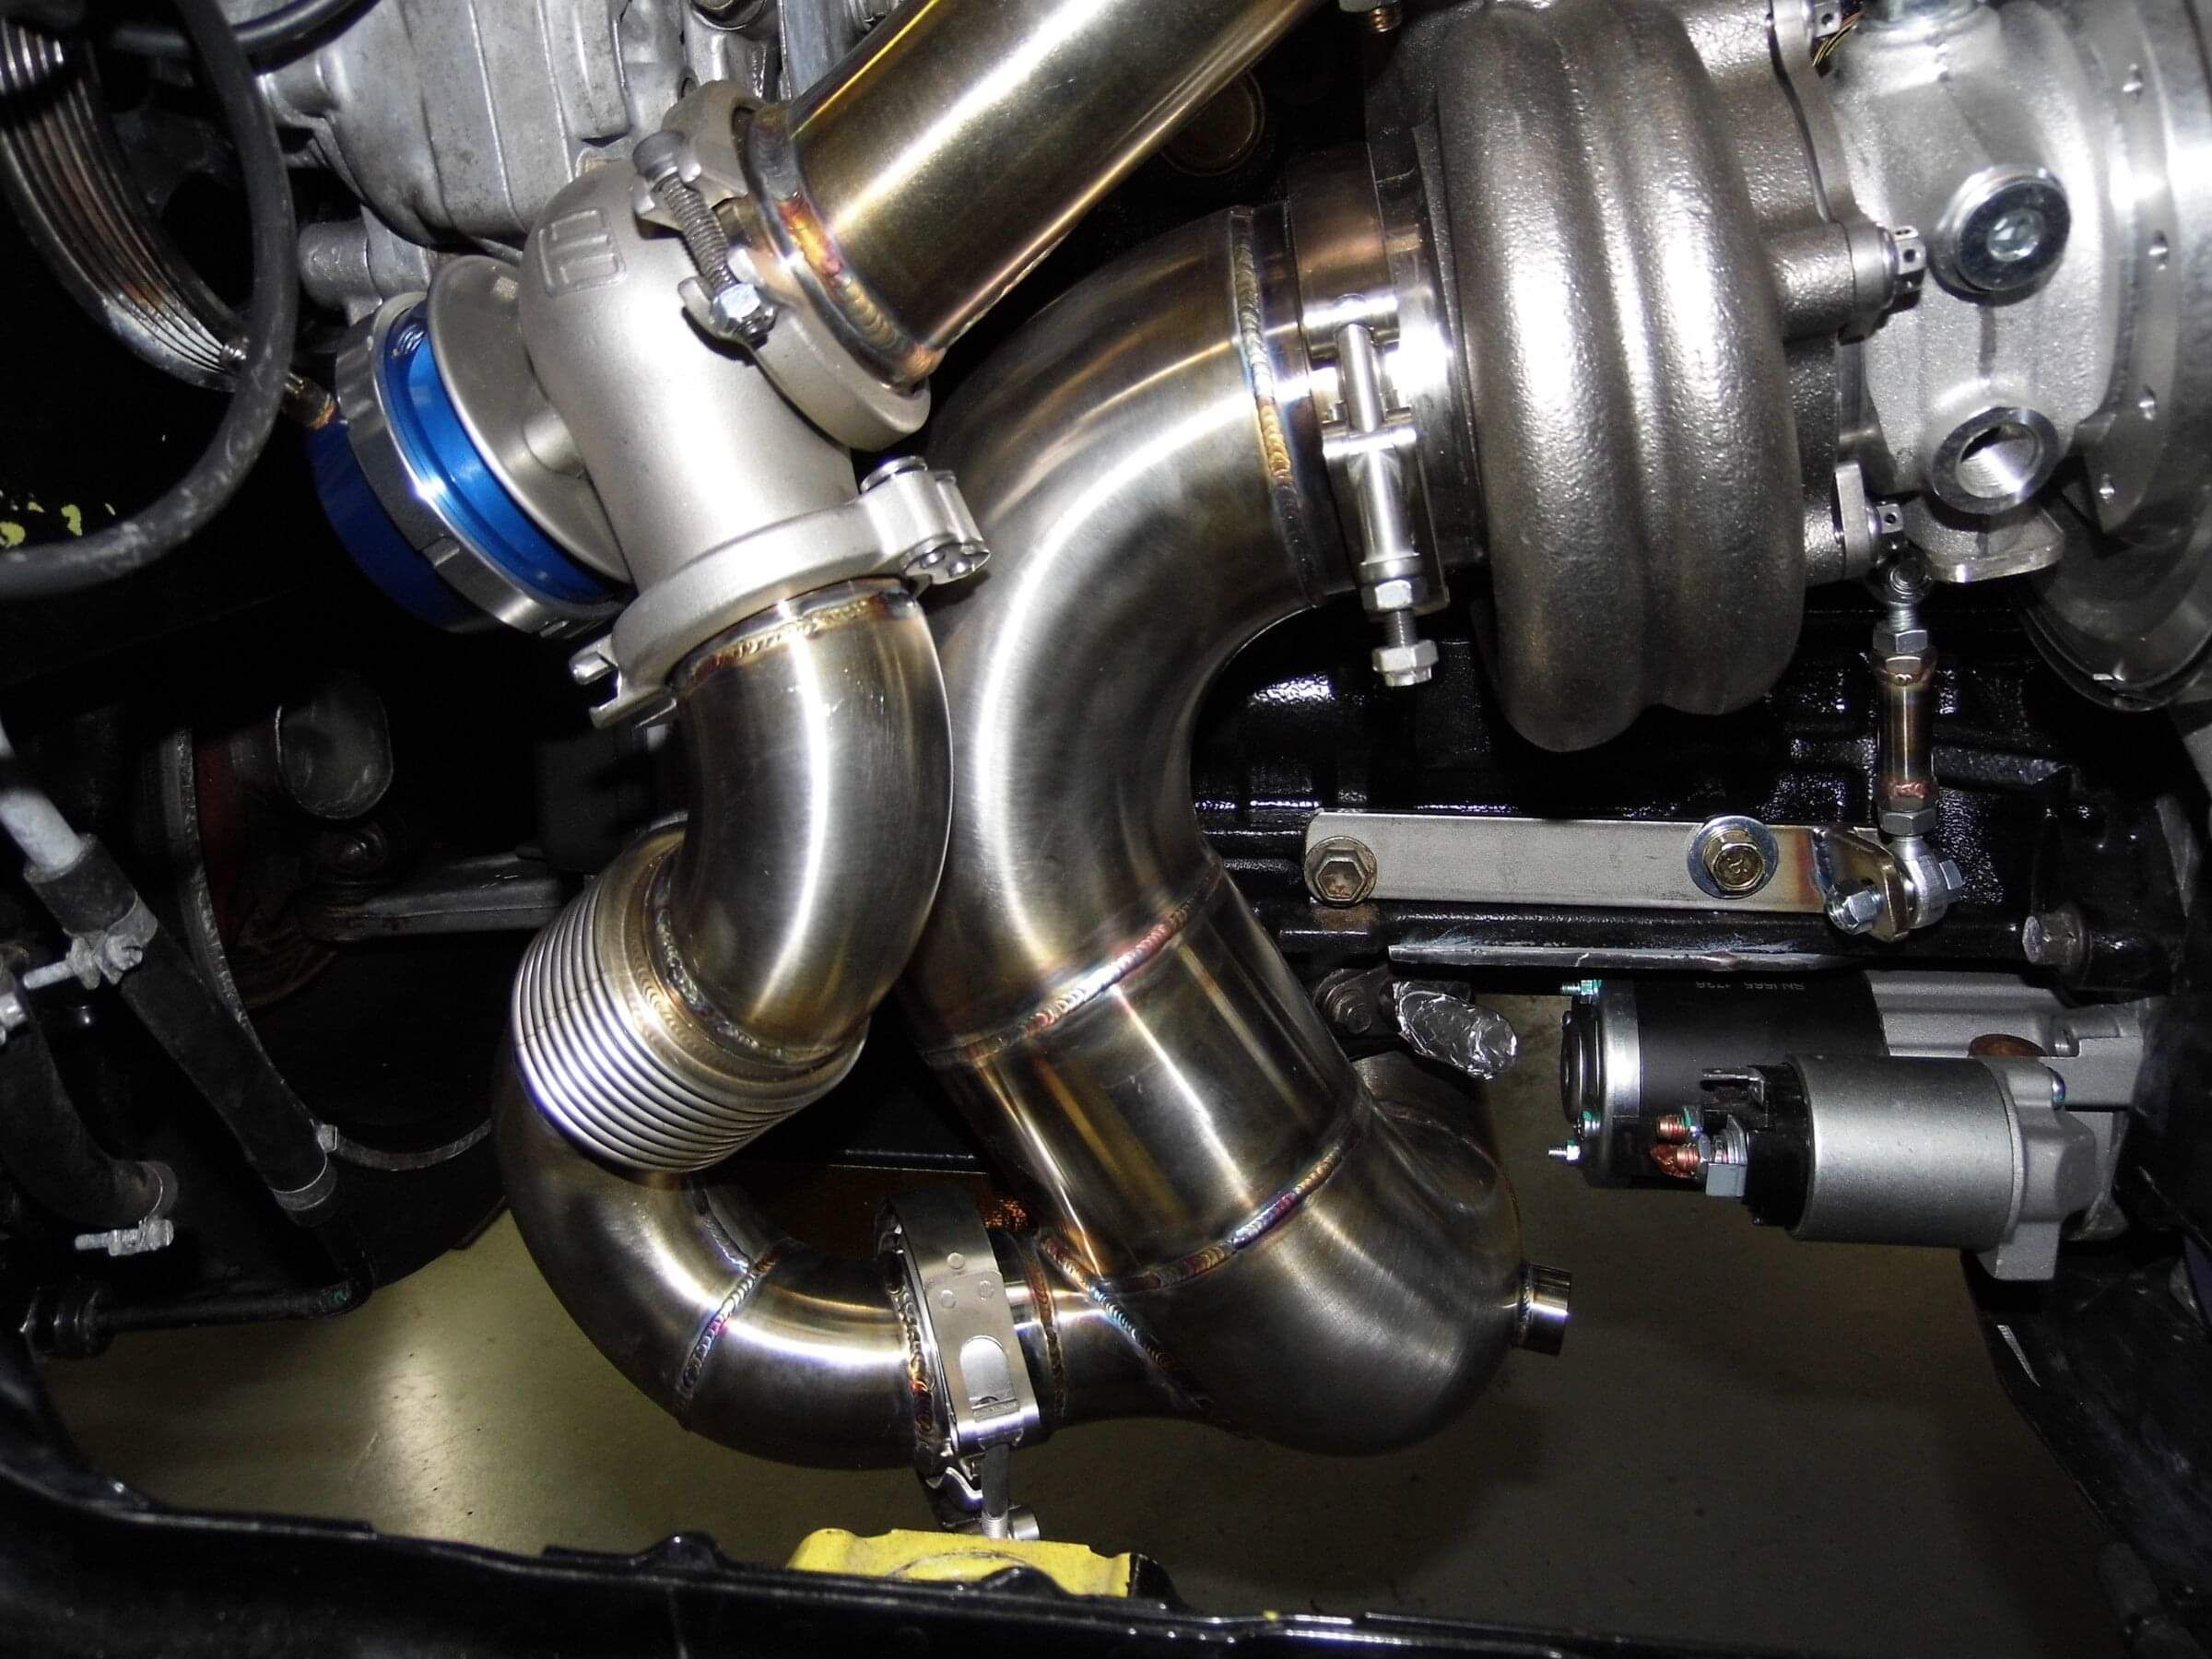
3. Designed correctly with a exhaust flexi or exhaust bellow for movement.(for more information on exhaust flexi & bellow and how they can help with exhaust longevity click here)
In this article we will explain how we manufacture our systems and a few handy tips to help if you are starting out or giving it a go yourself from home.
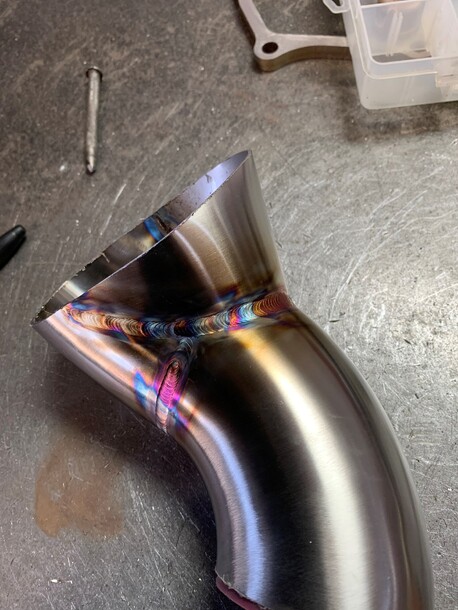
Stainless steel is a different beast than mild steel it moves a lot when welding so this write up would be more suited for stainless steel.
You can get away with tacking up and welding off a lot more with mild steel as it will not move the same as stainless.
With stainless steel If you are going for full penetration welds and back purging then the stainless will move more than you think, there are a few ways which you can help with the movement and we will explain these in the follow sections of this article.
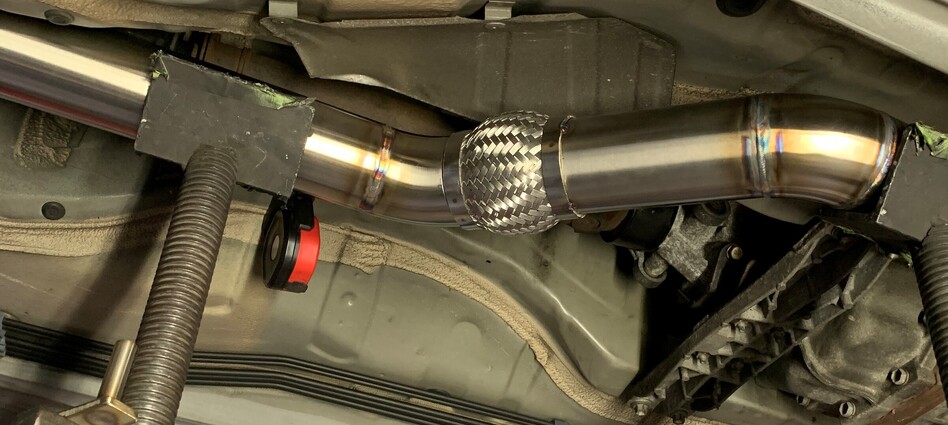
The main trick to combat the movement is to make the system up in stages, you can use the slip type ends of an Exhaust Flexi, resonators and mufflers to your advantage.
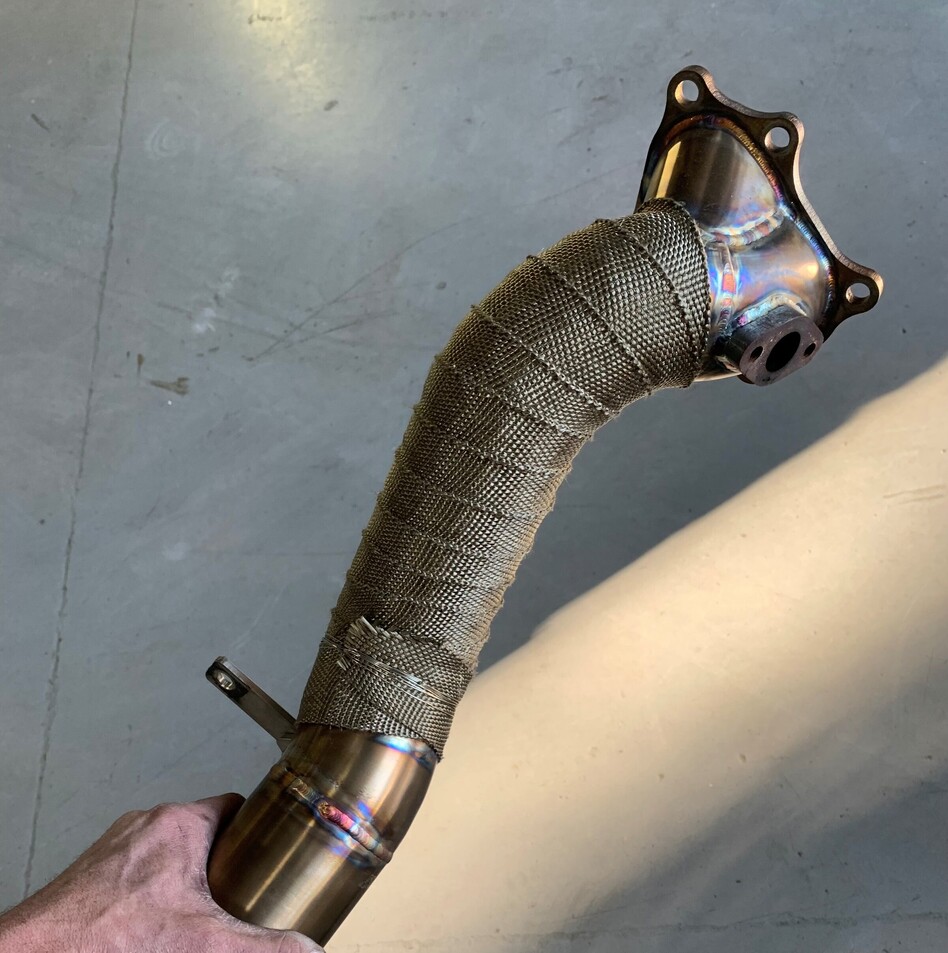
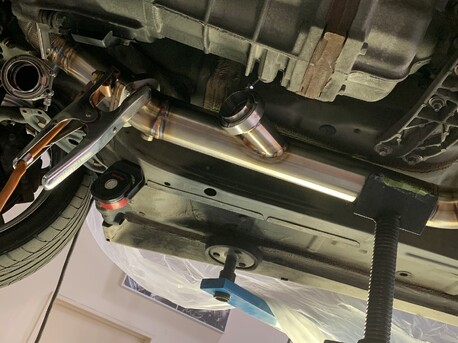
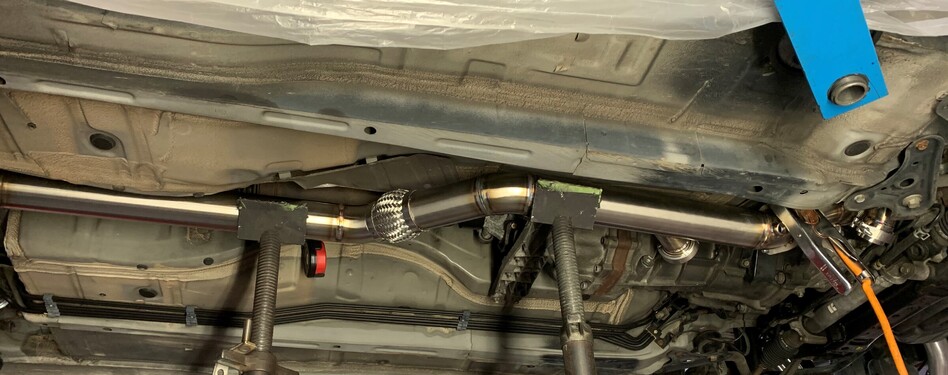
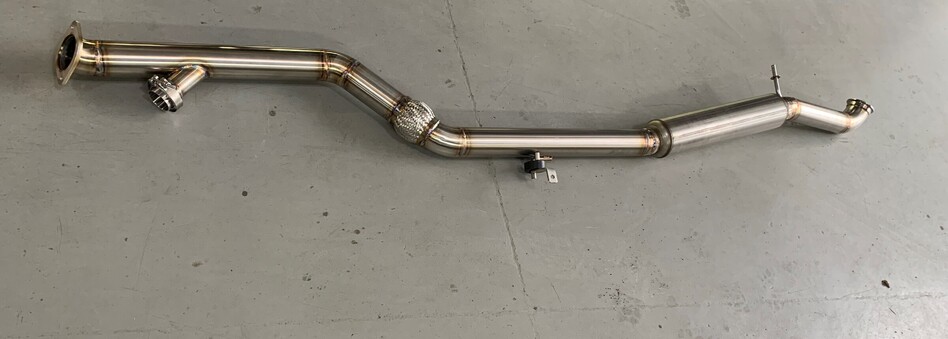
We like to fabricate the exhaust system in stages. Generally = Down-pipe, middle section and rear section. Each section we fully weld off and fit to the vehicle before moving onto the following section, this helps the battle of movement when welding the sections off. For example = if you tacked up the down-pipe, middle and rear sections all at once, took them all back to your bench welded them off and fit them, I can almost guaranty you will have misalignment and clearance issues.
or
You can fabricate, weld and fit the down-pipe then move onto the middle section do the same fabricate, weld and fit, then the rear section do the same. This way you greatly reduce the chance of alignment and clearance issues, by taking your time and paying attention.
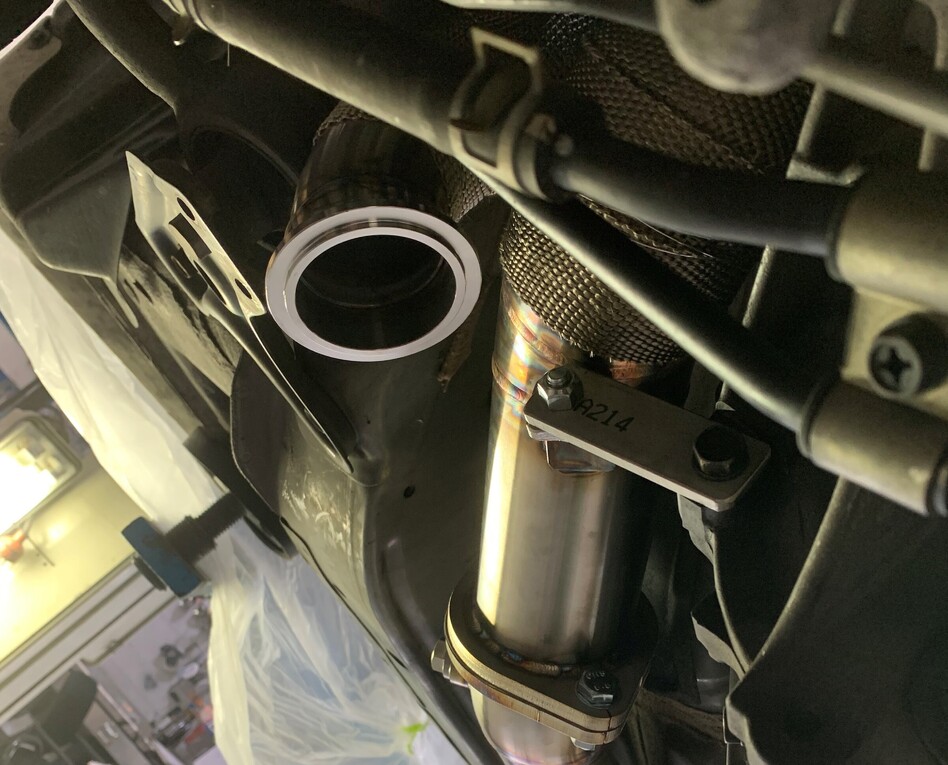
Down-Pipe
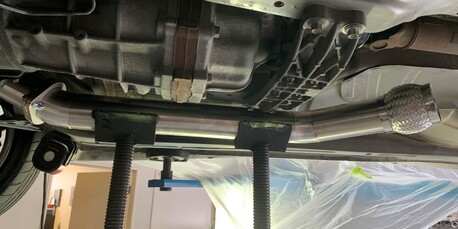
Middle Section
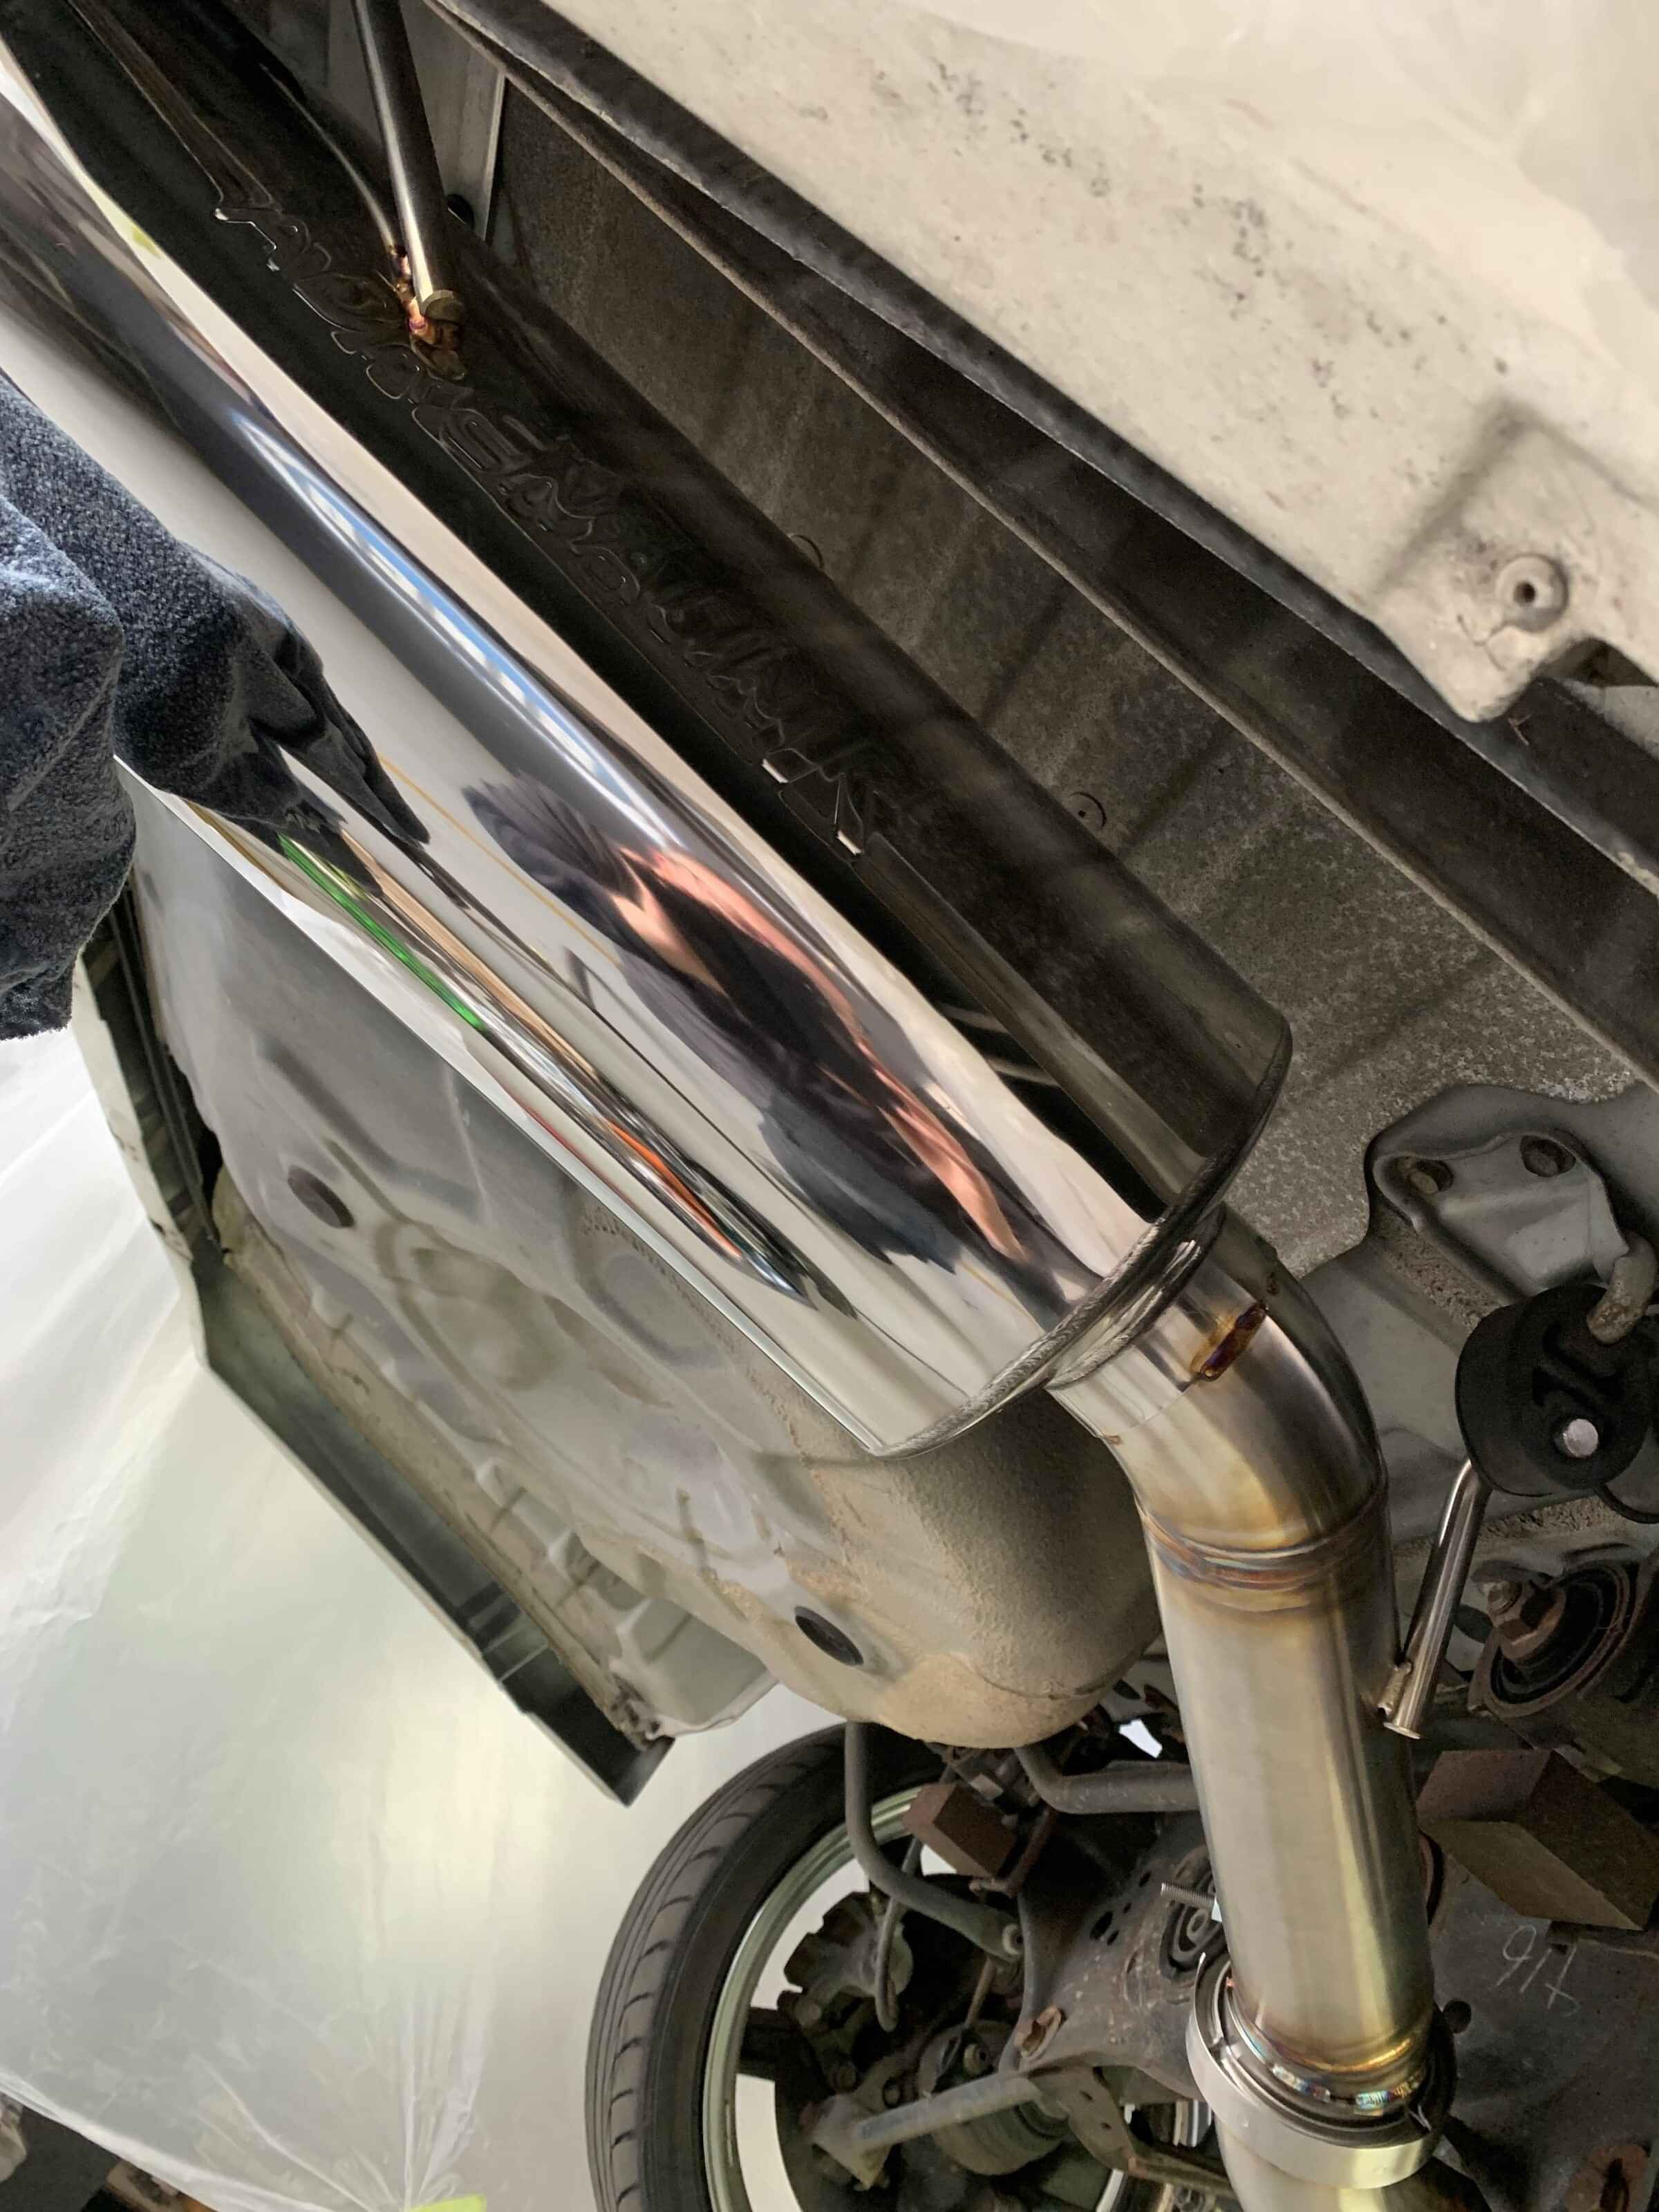
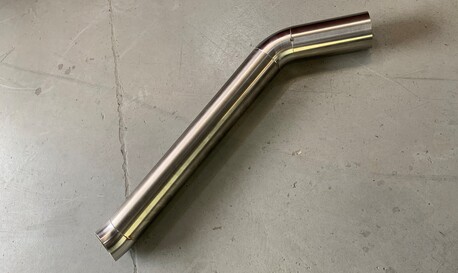
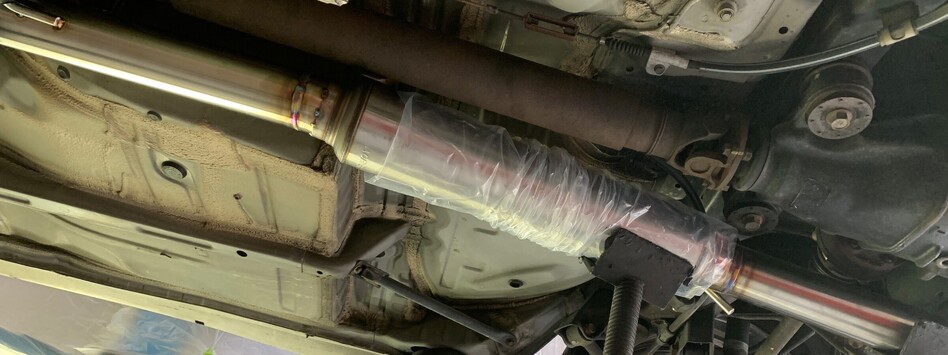
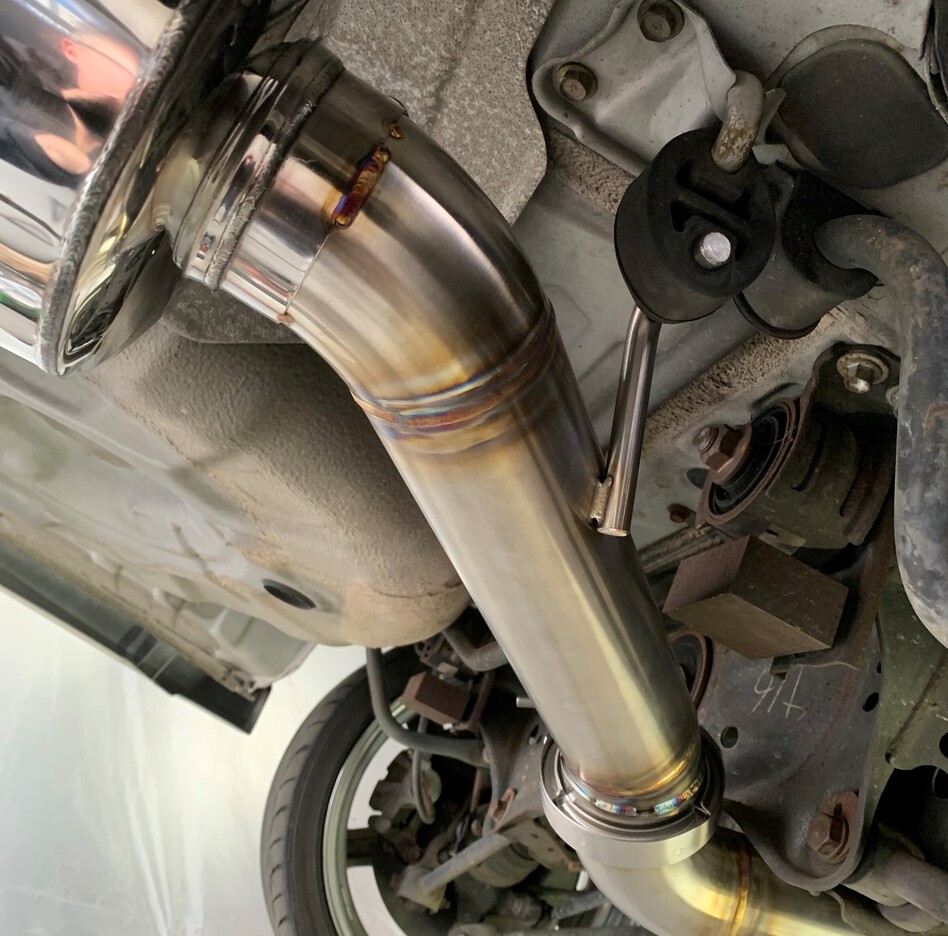
Generally you would make up the middle (longest) part of the exhaust in x3 sections, and have a exhaust vband or exhaust flange after the down-pipe and one at the rear of the system after the sub-frame. We do this so the system can be pulled off and on with ease and at the rear we like to have the ability to add removable sections so straight pipes can be used if needed in the future. It also gives you the ability to make up the middle main section of the exhaust fully and have it fitted up and mounted on the hangers before the rear section is made up.
After welding up the first section and letting it do all the moving from welding you can now sit the exhaust system back up on your stands and re-align the section into your exhaust flange, also you can add the flexi back on the end and start to cut up and fabricate the next section of the exhaust.
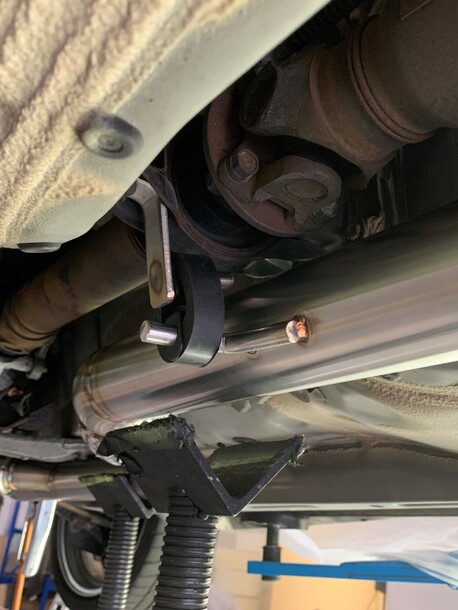
Pro Tip = Before adding your exhaust hangers raise the exhaust system up slightly to allow for the rubber mounts to have a bit of preload on them (the amount varies depending on the type of rubber mount but start with 5mm)
Rear Section
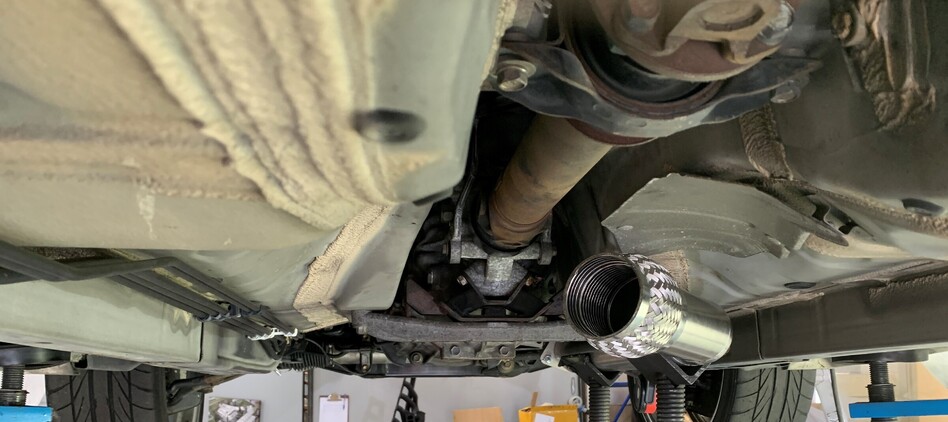
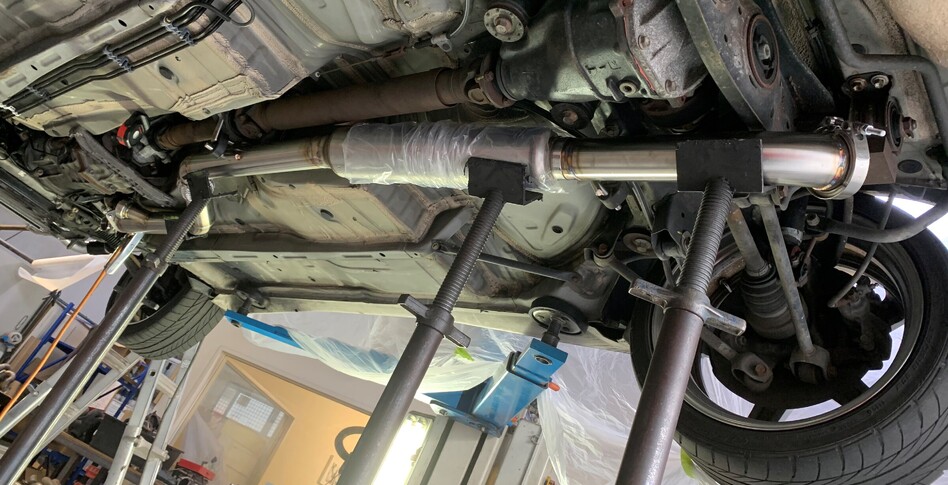
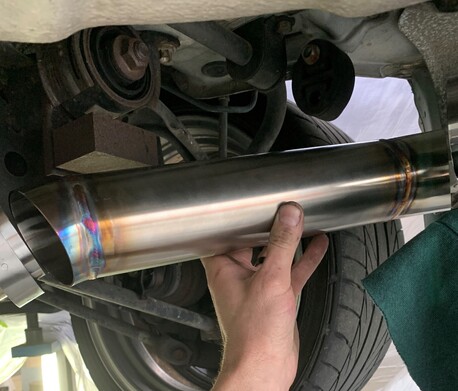
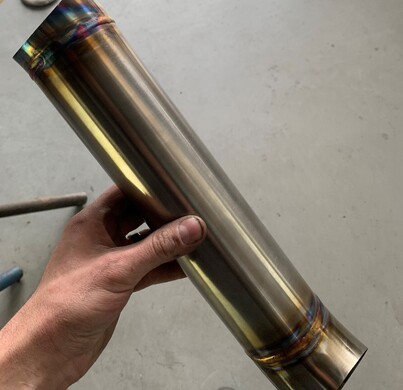
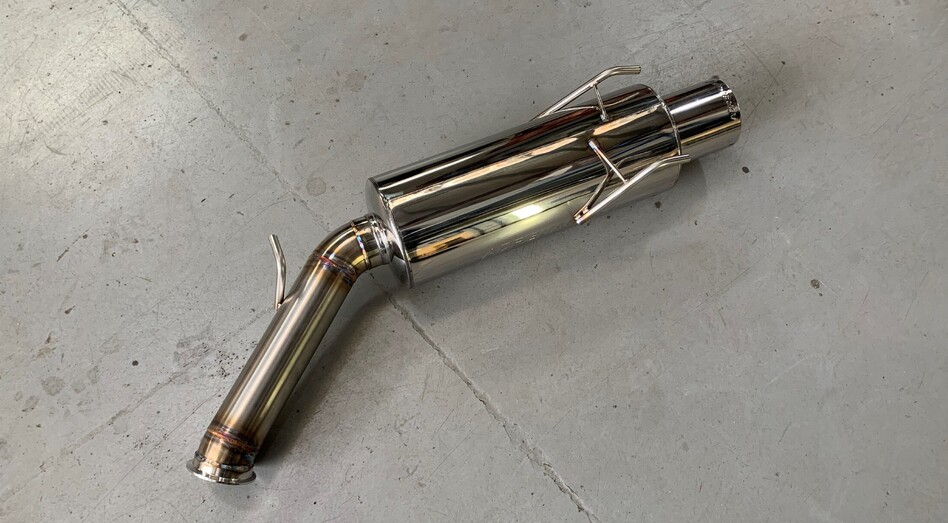
The rear section is much the same process, once the middle part of system is fitted and hanging on the rubber mounts, you can setup your rear canon in place and tack up the tube between the rear vband or flange set, remove it, fully weld it and then slip back in place for the final tacking up in place.
Once again you want at least x10 tack welds or x3 good stitch welds on the tube before re-moving it for final welding. With the tacks in place we add the last of the rubber hangers (lifting the rear section around 5mm for these mounts we are using as once the weight comes on the mounts when the stands are re-moved then the exhaust will sit very close to where you need it to)
